3 Landscape Photography Tips You Aren’t Using, But Should

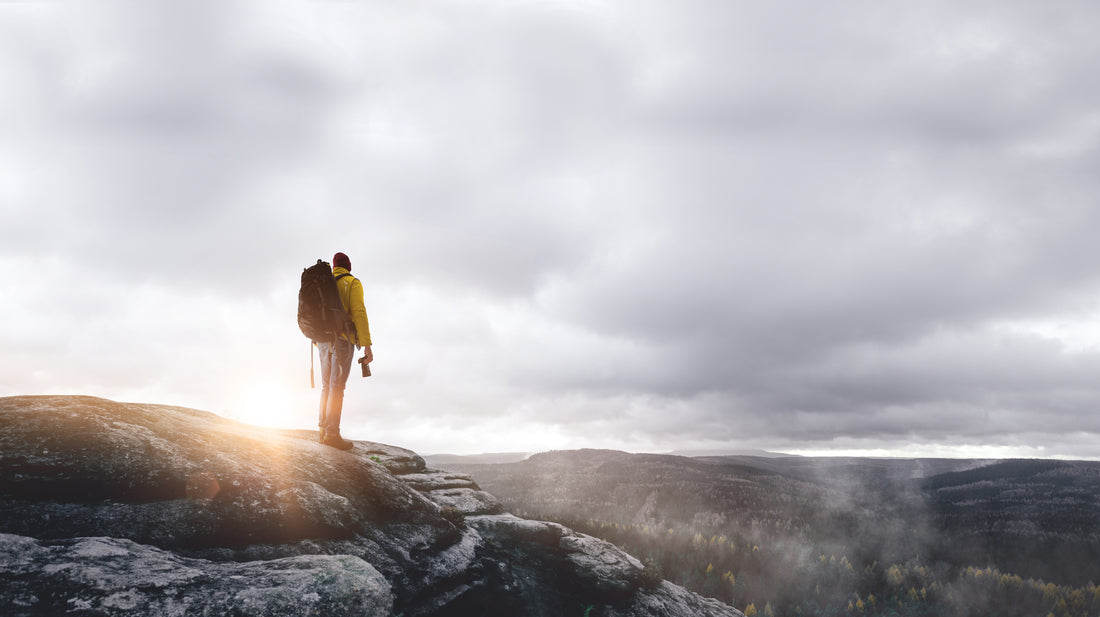
photo by Marcus Millo via iStock
If you Google “landscape photography tips” you get about a bazillion results.
Most tips for landscape photography are the same - use leading lines, have a straight horizon, use the shade white balance when photographing a sunset - and so on.
But there’s a few other tips that you definitely should use, but that you likely aren’t, for whatever reason.
Here’s three such landscape photography tips you should put into practice today.
Landscape Photography Tip #1: Use a Circular Polarizer

photo by Dimitris66 via iStock
If you shoot landscapes, a circular polarizing filter is must-have landscape photography gear. Your photos will benefit greatly from having one of these things on the end of your lens.
That’s because there’s tons of benefits of polarizing filters, like the Kenko Nyumon polarizer shown below. This includes:
- Polarizers reduce glare off of water and other non-metallic surfaces. The result is that you can see the crystal clear water rather than it being obstructed by sun glare.
- Polarizers reduce atmospheric haze. With less haze, distant landscape features appear crisper and clearer.
- Polarizers boost contrast in the sky. With the atmosphere a deeper blue and clouds a brighter white, the sky above the landscape will have much more visual appeal.

Even better, using a circular polarizer is about as easy as it gets.
Simply screw it onto your lens, position yourself at a 45-degree angle to the sun (or as close to that as possible), and rotate the polarizer as needed to get the desired effect.
It’s a process that takes just seconds, but one that can help you reap the rewards of much-improved landscape photos.
Editor’s Tip: Not all polarizing filters are made alike. A top quality filter has high-quality glass for sharpness, multi-coating to resist dust and fingerprints, and precision machined housings that are easy to rotate and that have a low profile to prevent vignetting. Don’t be seduced by high-dollar polarizers, either. You can Get a top-quality polarizer without breaking the bank. Need more details? Learn all about budget-friendly lens filters.
Landscape Photography Tip #2: Your Composition Makes the Shot, Not the Scenery

Photo by JOHN TOWNER on Unsplash
Sure, it helps if the landscape you’re photographing is breathtaking, but beautiful scenery on its own isn’t going to get you an awesome landscape photo.
Aside from all the other things a great shot needs (i.e., good light, a strong subject), it also needs to be well-composed.
This means applying traditional landscape photography rules - the rule of thirds comes to mind.
But this also means breaking the rules when need be.

photo by Boogich via iStock
For example, the photo above doesn’t adhere to the rule of thirds, and that’s okay.
Placing the waterfall in the middle of the frame works well here because it extends the leading line of the river upward.
Additionally, it’s important to change the eye level of your landscape photos and compose shots from a low angle or a high angle.

photo by Scacciamosche via iStock
Doing so immediately changes the look of the shot and provides the viewer with a more interesting view of the landscape that they might not typically see.
There’s plenty of other landscape photography tips you can try, but simply changing the eye level and understanding that breaking the rules can sometimes be as effective as following them will do a lot to help you improve your landscape photography.
Learn More:
- Landscape Photography Composition Tips to Improve Your Photos Right Now
- Landscape Photography Tips With Tons of Impact
Landscape Photography Tip #3: Don’t Get Caught Up in Doing Things the “Right” Way

Photo by Tom Gainor on Unsplash
Here’s the thing…
Though you should probably use a tripod for most landscape photos, and learn how to shoot in manual mode, and understand which white balance setting to use for different kinds of lighting, when it comes down to it, getting the shot is more important than trying and failing to get it the right way.

Photo by Finding Dan | Dan Grinwis on Unsplash
I’m a huge advocate for learning photography and getting things right in-camera. But at the end of the day, it’s better to get the shot you want shooting full auto with no tripod than missing the shot altogether because you’re fiddling around with camera settings.
A lot can be corrected in post these days, so if you have a choice between getting the shot the “wrong” way and not getting the shot at all, by all means, do it the “wrong” way!
Originally posted on PhotographyTalk.com

