This is a guest post series by Alen Smirnov.
PART I
- How do ND filters work?
- Types and varieties of ND filters
- Difference by density
- Difference by construction
- Typical situations

If you are passionate about photography and not afraid to experiment, then this article is for you! You have probably already used UV or polarizing filters. UV filters protect your lens from physical damage, as well as from UV light, which can negatively affect the images. Polarizing filters are more interesting, because they increase contrast and eliminate reflections from water and glass surfaces. But now we will talk about the much more interesting neutral density filters commonly referred to as an ND filter.
After polarized filters, ND filters are the most popular. Although it is difficult to overestimate the creative potential they provide the photographer, they are unfortunately paid much less attention.
Here we will try in a simple but detailed way to explain these wonderful filters, their varieties, and the situations in which they can be used.
I will first give you general information about ND filters; how they work, what the types are and in what situations they can be used. In the 2nd part I will explain in detail how to use ND filters in photography. In parts 3 and 4, time-lapse and videography. And finally in part 5 we will talk about how to choose your ND filters.
How Do ND Filters Work?
The main purpose of ND filters is to reduce the incoming light in the same proportion across the entire spectrum. In simple terms, the filter reduces the amount of light entering the camera. This filters gives the possibility to shoot at any time with any exposure settings in over lit conditions.
Let's look at the types and varieties of ND filters, and then discuss the typical situations in which they can be used.
Please, note that shooting with an ND filter is often associated with long exposures, so you may need a good tripod.
Types and varieties of ND filters
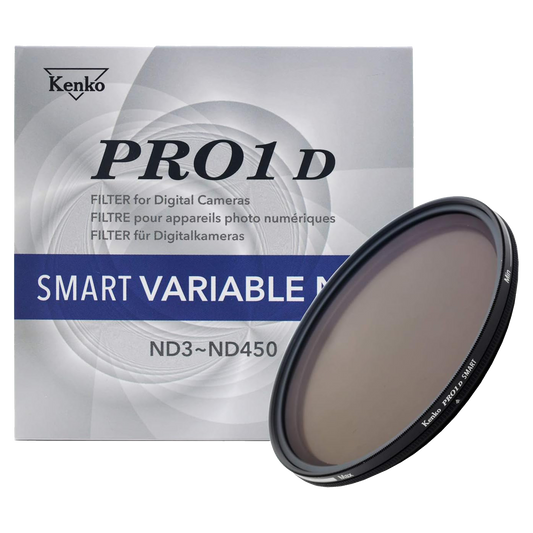
ND filters are included in the product lines of almost all filter manufacturers. In terms of quality there might be serious differences, but in classification of ND filters all of them are identical. In this review we will use as an example Kenko REALPRO ND filters and Kenko Variable NDX filters.
So ND filters are classified by density level (the amount of decreased light) and by construction.
Difference by density
ND filters are classified by density. In other words by the degree of reduced light (fading).
The ND letters in the name of the filter tell you that it is a neutral density filter. After the letters there is numeric designation of the degree of light to be reduced. Actually, if you look at ND filters you will notice that filters with different density level are differs from each other (one darker than other).
Variable ND filters are limited by the practical density range of ND2-ND400, due to technological limitations which will be explained below. The density of variable ND filters is changed by rotating one of the two stacked filters.
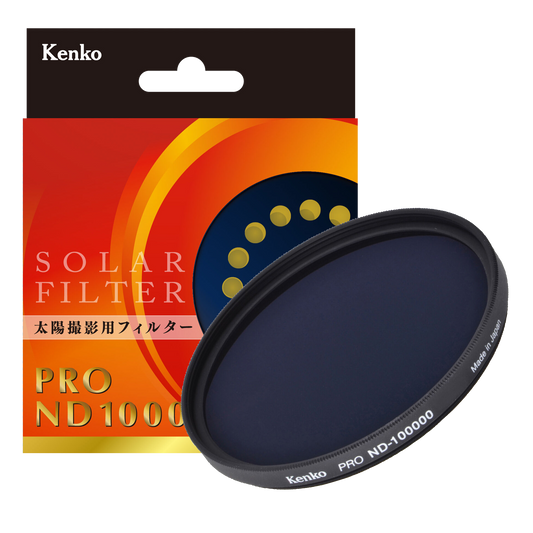
Kenko REALPRO ND filters with fixed ND levels present a wide range of models from ND4 to ND1000, which covers almost all photographic situations. The only thing you need is to identify and choose the appropriate model.
The filter with most light transmission in the fixed ND line is Kenko REALPRO ND4 which transmits one forth (or 25%) of the scene's light. But in photography is not common to measure light in that way so we usually use exposure values (EV) or f-stops. For example, the ND4 filter will lower the light by 2 f-stops.
On the camera screen the exposure state is shown by the digital scale, where over and underexposure is indicated with "+" and "-" numbers. For example, an overexposure of 2 f-stops is shown as "+2EV" or simply “+2".

Here’s a handy table to make it a bit easier to understand. It can be used to choose an ND filter from any manufacturer.

Also check out the wonderful application Long Exp by Ilya Genkin. It is a set of different calculators for long exposure. For example, there is "Stacking ND Filters" section where you can calculate the exposure for multiple ND filters. Also, it has a table similar to the one above and many other useful calculators. Unfortunately, this app is available only for iOS in both free and paid version, but I would recommend you purchase the paid one, because it is a really useful app.
For the amateur photographer, all these marks and f-stops may seem somewhat confusing. So let's look at the simple example.
Let's say we have a very sunny weather, a camera with the maximum shutter speed of 1/4000 sec., a minimum sensitivity of ISO200 and fast portrait lens with an aperture of f/1.3.
We need to shoot at maximum aperture to get a beautiful background blur. In this case, the maximum possible exposure of the picture will be: 1/4000 sec. ISO200, f/1.3. With these settings the photo is overexposed by 2 f-stops (camera menu shows +2EV) because of the bright sunlight.

The only thing we can do with camera is to stop the aperture down by 2 f-stops, f/2.8. In this case the exposure will be correct, but you lose depth of field, which is critical in portrait photography.

So here an ND filter will come in handy. Returning to the top table, we can easily define that an ND4 filter is just we need, because it is reducing the light by 2 f-stops. Using the filter we will get a correctly exposed shot with the desired depth of field.

This very simple example shows the principle operation of ND filters and I hope it will help you to select the right filter for the occasion. But reality is somewhat more complex. If you shoot with RAW-files, a slight overexposure is not so terrible. On the other hand, if we are talking about the creative potential, there may be situations when you need to reduce the light by up to 1000 times or more (i.e. 10 or more EV steps). Later we will consider all the most typical situations of using such filters.
Difference by construction
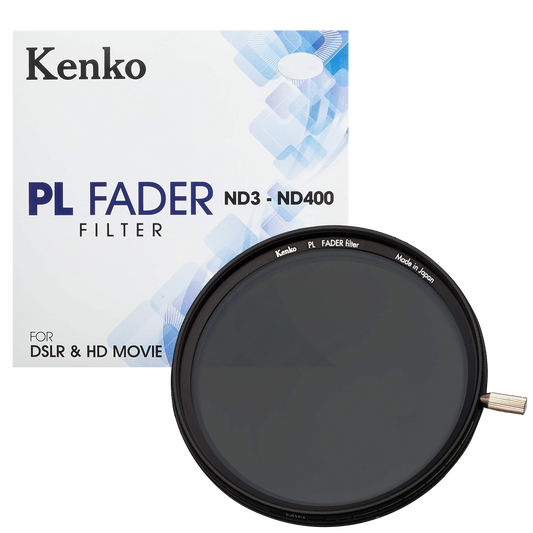
Also ND filters are categorized as either fixed or variable. Fixed ND filters consists of a glass with a specified density level. Kenko REALPRO ND are fixed ND filters. Variable ND filters you allow to dynamically control the density level from ND2 to ND400. A variable ND is constructed of either a combination of two linear polarizing filters or both a linear polarizing filter and a circular polarizing filter. The density can be changed by rotating the upper frame. Kenko presents two models of variable ND filters, the Variable NDX and the PL FADER.

The disadvantage of fixed ND filters is that for each shooting situation you need to use a certain filter with a desired density or avcombination of several filters. However, this approach is more correct because it guarantees a higher quality in terms of resolution and color, and allows the use of extra-long exposures. Other disadvantages are the high price and low quality of budget models (low resolution and color shift).
A great advantage of variable ND filters is that they allow you to dynamically change the level of density. You don't need to change or attach filters with different densities. Just simply rotate the upper frame to achieve the desired effect within the operating range of the filter.
Typical situations
Before we proceed to the practical side, it must be said that the scope of ND filters is very extensive.
First and foremost, ND filters are used in classic photography. For example, in portraits, for more depth of field or in landscape photography for very long exposures. Also, ND filters are often used in time-lapses.
In the professional videography it is also very difficult to manage exposure without the use of ND filters.
In part 2 we will consider the most typical situations to use an ND filter in.
To be continued in part 2….