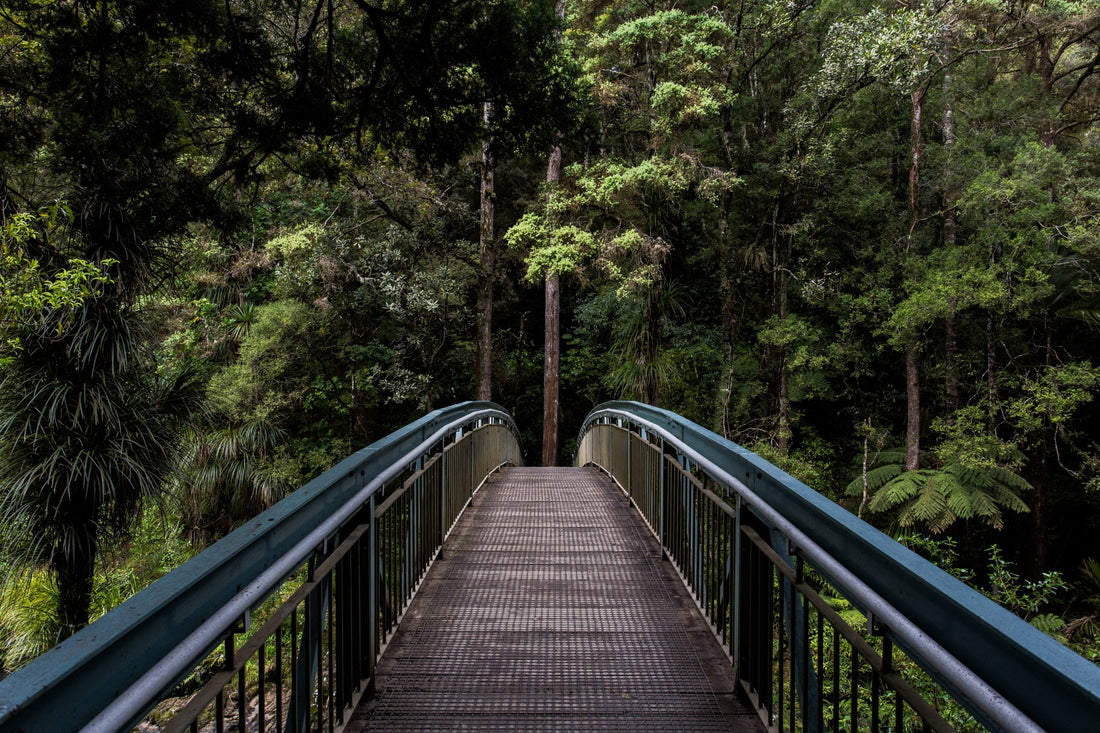
Nature Photography Tips for Beginners
 Photo by Tim Swaan on Unsplash
When you’re first starting off in your landscape photography journey, it can be overwhelming. Oftentimes, it may feel like the place you live isn’t beautiful enough for you to be one of the truly great landscape photographers.
But, believe it or not, nature photography is much more than living somewhere gorgeous...
Here are some nature photography tips to teach you how to make the most of the nature that’s accessible to you.
Table of Contents
- It’s All About the Camera
- But, Don’t Forget About Your Filters, Tripods and Lenses
- Nature Photography Tips Are Useless if You’re Shooting in JPEG
- Buy a Shutter Release
- Keep Your Manual Exposure 101 Tips in Mind
- Never Stop Exploring
It’s All About the Camera
 Photo by martin-dm via iStock
I’m not saying you can’t take nature photographs with your iPhone, but I am saying they won’t be as good as they could be with even a lower end, cheap DSLR or mirrorless camera.
DSLRs for beginner landscape photography allow new photographers to create better quality images and allow you to have complete creative control over your photos in post-production.
That's because even low-end DSLRs and mirrorless cameras have manual controls and the ability to shoot in RAW - manual controls allow you to make decisions about what the camera does (not the camera making those decisions) and RAW format gives you the most data with which to work in post-processing.
Plus, just one of many landscape photography secrets is that you can buy a used DSLR for pennies on the dollar. This type of camera will allow you to capture every waterfall, forest, or prairie in much greater detail than your phone.
But, Don’t Forget About Your Filters, Tripods and Lenses
Once you’re set up with a good DSLR, you can begin to play around with new equipment. A lot of outdoor photography tips for beginners completely forget to mention the essential equipment outside of a camera.
The DSLR you just bought comes with something called a kit lens - it’s basically the bare minimum lens that all camera manufacturers send out in their camera kits. These types of lenses don’t add much value to your DSLR, but they do allow you to begin shooting immediately.
If, however, you have the extra money, you should purchase one phenomenal lens to accompany your shiny new camera. Since you’re interested in landscape photography, you may want to invest in a wide-angle lens like a 24mm prime or perhaps something like a 12-24mm zoom. This enables you to capture vast expanses of space in one photo.
Learn more about what landscape lenses you should consider buying in the video above by Mark Denney.
 Photo by DieterMeyrl via iStock
You’ll also need to invest in a tripod. I like to keep it simple outside of my camera and lenses, especially if you’re just beginning. So, a run-of-the-mill DSLR tripod will cost you around $20 on Amazon.
Now, a cheap tripod is like a cheap lens in that it's great to learn with when you're just starting out. But as your skills improve, a better tripod will be in order.
Tripods allow you to take long exposure shots of landscapes, sure, but they also allow you to steady your shot enough to create extremely sharp details. These details will inevitably be blown up when you get home and get them onto your computer and nothing is more frustrating than figuring out your whole day of shooting was a waste because of your shaky hand.
Nature photography is one of the only types of photography where, in many cases, you can have as much time as you need to set up a shot, so use that time wisely and bring a tripod with you.
 Photo by Eloi_Omella via iStock
Finally, purchase a variable ND filter. A variable ND filter screws onto the end of your lens, just like a circular polarizer, and it controls how much light is getting into your camera.
By diminishing the amount of light entering the camera, a variable ND filter allows you to slow down the shutter speed and capture images like the one above, in which the water is gorgeously blurred.
Plus, when you invest in a variable ND filter you’re getting a better deal than if you bought a fixed ND filter.


Where fixed ND filters each only allow so much light into your camera, a variable ND filter like Kenko’s NDX variable ND filter allow you to twist the filter to get the perfect degree of light. In that regard, a variable ND filter is like having a whole ND filter kit in your camera bag without the bulk and expense!
As you can see above, the same filter produces widely varying degrees of filtering power.
If you're completely unfamiliar with variable ND filters, check out this article. In it, I expound on why filters like Kenko's NDX variable ND filter are so valuable for nature photography.
Nature Photography Tips Are Useless If You’re Shooting JPEG
 Photo by JESHOOTS.COM on Unsplash
I’ve said it before and I’ll say it again: stop shooting JPEG images. If you’ve never read any outdoor photography tips, then you might use the JPEG setting on your DSLR because it’s what many cameras default to in the beginning.
But, you should only be shooting RAW images and saving them as JPEGs after post-production.
Why? Because RAW images preserve way more information than JPEGs. JPEGs are compressed versions of your original photo, while RAW images are the full image with virtually all the detail captured by the camera's sensor.
If you’re hoping on editing your photos at all to correct white balance or enhance color, shoot in RAW!
Learn More:
Buy a Remote

Okay, I know I’ve already told you to buy a lot of expensive equipment. But this next item is super cheap.
Remotes can be found for virtually nothing - we’re talking $8 for a basic one on Amazon, and they also aid in long exposure shots.
When you’re trying to take a photo, you always move your camera at least a little bit, even when you very gently press the shutter button to begin the exposure. Shutter releases allow you to take a photo without touching your camera so you don’t risk a blurred image.
Plus, they’re a lot of fun to play around with, especially when trying to take selfies that don’t totally suck. One of my photographer friends lets her toddler control the shutter release while they’re taking family photos and finds it’s a great way to get candid shots.
Keep Your Manual Exposure 101 Tips in Mind
 Photo by Alex Chernenko on Unsplash
When you're just learning the ropes, shooting in full auto mode is fine.
But as you learn and grow as a photographer, do not shoot in automatic. You’ll never learn everything your new camera can do and all of the wonderful ways it can capture the world around you if you don’t learn about it.
Shutter speed, like I talked about before, is just how fast the shutter opens and closes. Obviously the longer the shutter speed, the more light that enters the camera and the shorter the shutter speed, the less light enters the camera. Therefore, shutter speed controls the duration of light as well as how the camera captures movement - is that movement blurred (like below) or frozen?
 Photo by DieterMeyrl via iStock
The ISO level tells you how sensitive your camera is to light in your current surroundings. The higher the ISO value, the more sensitive the camera becomes to light. ISO is also responsible for how much digital noise is in the image. The higher the ISO, the more digital noise (which looks like graininess) there will be in the shot.
The aperture controls the amount of light that reaches your camera. Aperture is measured in f-stops, where larger numbers (i.e., f/22) represent a very small aperture opening and smaller numbers (i.e., f/1.4) represent a very large aperture opening. The smaller the aperture opening, the greater the depth of field, or how much of the scene is in focus.
You can choose where you want each of these levels in order to capture the perfect photo when you shoot in manual mode.
Though manual mode might sound scary, it truly isn't! It just takes time and practice to learn the ropes and feel comfortable using it.
Never Stop Exploring
I think this advice is as good for a novice landscape photographer as it is for a pro. The chances of burnout in photography are high, particularly with landscape photography because it is so expensive to travel and explore new places.
When I say never stop exploring, I don’t mean you need to constantly be on the road, or in a new country, but I do mean you need to adopt a childlike wonder. You need to ask yourself what you’re not seeing in your own backyard. You need to get out of your comfort zone because this is where the most growth is going to happen to you.
Never stop trying to get the best shot of your life because chances are you haven’t yet captured it!
Get inspired to explore more in the video above by Thomas Heaton.
Learn More:
Originally posted on PhotographyTalk.com

