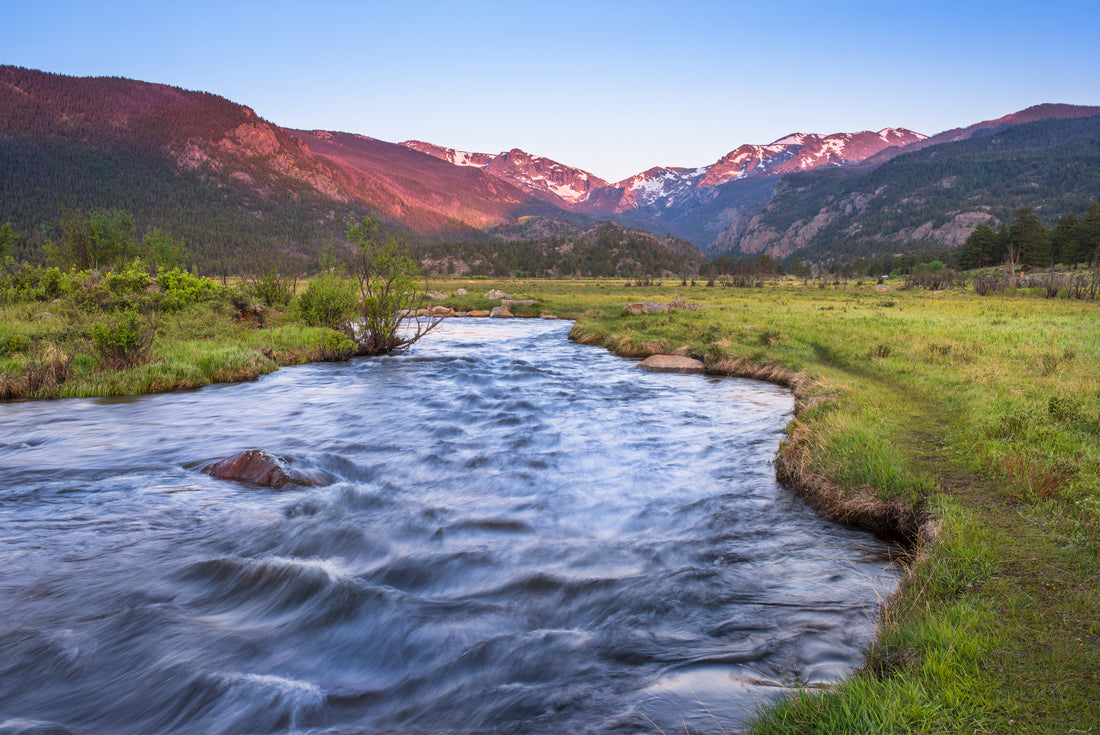
Landscape Photography Techniques You Need to Try

photo by HaizhanZheng via iStock
Landscape photography tips are redundant. Shoot with the horizon straight and shoot during golden hour aren’t really specific tips to landscape photography and they definitely don’t make you a better landscape photographer.
In order to truly improve your landscape photography, you need to learn how to think differently than your competitors. What landscape photography comes down to is being comfortable in life’s most uncomfortable circumstances.
So, if you’re ready to bring home shots that will make your friends jealous, here is PhotographyTalk’s list of real landscape photography tips.
Table of Contents
- Landscape Photography Technique #1: You Left Your Tripod at Home. So What?
- Landscape Photography Technique #2: Forget About Your Camera’s Price Point
- Landscape Photography Technique #3: Shoot Outside of Golden Hour
- Landscape Photography Technique #4: Be a Tourist, But Also Be a Traveler
Landscape Photography Technique #1: You Left Your Tripod at Home. So What?

Photo by Yash Prajapati on Unsplash
You do not always need a tripod. Run that through your head a few times. And then the next time you accidentally forget your tripod at home, run it through your head a few more times.
I recently found myself on a photography trip in Hawaii. I was about 6 miles into a 12-mile hike with about 30 pounds of photography equipment strapped to my back. Imagine my disbelief when I realized I forgot my tripod at my AirBnB.
I could have freaked out (and maybe I freaked out a little bit for only like the first 10 minutes), but then I switched the aim of my shoot.
If you’re shooting during daylight with a high shutter speed, you don’t need a tripod to shoot a waterfall… or a sunset. You basically don’t need a tripod so long as you have sufficient light.
I was planning on using my favorite neutral density (ND) filter to shoot the Maunawili Falls (frankly because there aren’t any high-quality stock images of the waterfall because it’s so far into the backwoods of Oahu)

photo by vovamir via iStock
But an ND filter, like Kenko’s ridiculously cheap Pro1 slim frame lens filter, must be used with a tripod…
ND filters, for those of you who are new to the photography game, basically just control how much light can enter your lens. They come in a variety of strengths - ND4, ND10, and so on, where the higher the number, the darker the filter, and thus the less light that enters the camera’s lens.
ND filters - the good ones, anyway - do not affect the color of light or polarization of the shot. You can use ND filters for time-based effects, like the one below, that blur the movement of features that are in motion, like water or clouds.
Of course, the stronger the filter, the more pronounced the motion effects will be.

Photo by Quino Al on Unsplash
It’s easiest to see the effects of an ND filter in shots like this one that include water or the sky. Water tends to smooth out, while clouds tend to blur together, when you use an ND filter.
Additionally, including elements that are static - like the rocks in the foreground above - help accentuate the indicated motion of the clouds and the water.
But, if you don’t have a tripod like I didn’t, then your end photo would look more like a horrific panorama shot with a shaky hand on an iPhone. Because the shutter speeds are so long when you use an ND filter, a tripod is an absolute must.
So, instead of shooting the falls with an ND filter like I had hoped to, I shot a break in the trail where I could see endless jungle for miles.

Photo by Martin Zangerl on Unsplash
So, while a solid tripod is an essential part of any landscape photographer’s kit, you don’t have to have one every single time you press the shutter button.
Instead, think on your feet, change the goals of your shoot, and find ways to capture nature’s beauty without relying on a tripod.
Landscape Photography Technique #2: Forget About Your Camera’s Price Point

Photo by Benjamin Combs on Unsplash
Do you want to know a secret… the reason people are obsessed with these $100 camera vs. $10,000 camera videos on YouTube (like the one below by Peter McKinnon) is that the price tag on your camera really doesn’t matter if you know what you’re doing with it.
I know forgetting about your budget is harder to do than I’m making it seem, especially when it feels like all of the photographers you admire are the influencers who seem to have an endless supply of money to buy an endless supply of camera equipment, but stick with me.
Even your favorite photographers started off with a cheap camera. And even the world’s best photographers will challenge themselves to use antique cameras and vintage lenses to increase their creativity.
So, while it may feel like you’re trapped with your photography equipment, you will find that you take much better photos if you have the confidence of someone with a $10,000 camera.
People with $10,000 cameras never shy away from getting in someone’s way to get a good shot. People with $10,000 cameras also need to worry about jumping in a lake with their equipment. You don’t. It’s the best of both worlds.
Use it!
Learn More:
Landscape Photography Technique #3: Shoot Outside of Golden Hour

photo by ananaline via iStock
We get it... “Golden hour is the best time to shoot everything and anything,” says everyone.
But I really don’t agree and I don’t think you should either.
Landscape photography is one of the best types of photography to be shooting during odd times of day because it can be one of the moodiest types of photography.
The reason Scotland always looks so fantastic and otherworldly in stock photos is because it’s a cloudy nation.

Photo by Nuno Antunes on Unsplash

Photo by Joshua Earle on Unsplash
If I asked you to compare these two pictures of Scotland’s landscape, which one feels more quintessentially Scottish to you?
For my money, it’s the first one. The cloud cover adds so much drama to the shot. There’s not a hint of golden hour lighting, yet it’s a compelling image if you ask me.
Sometimes the answer to golden hour is, “I frankly don’t want to wake up that early.” And the great thing is that you don’t have to wake up that early!
Challenge yourself to shoot during mid-morning, mid-afternoon, in the evening, and at blue hour too. You’ll find that the landscape looks completely different depending on the time of day.
Landscape Photography Technique #4: Be a Tourist, But Also Be a Traveler

photo by AZCat via iStock
Social media unearthed a very human need to tell and retell the same stories.
These same stories, known as social media hotspots, create a slew of tourists looking to photograph what everyone else is photographing.
Take, for example, the California Superbloom. About 150,000 tourists wrecked a tiny town in California because other people were there taking pictures of some cool flowers.
This type of mob mentality tends to frequent the photography world. People flock to Paris for pictures of the Eiffel Tower or the Louvre; they attack specific parts of the wilderness in Iceland and Norway.
And a lot of photographers never venture outside of these popular spots. As a landscape photographer, you need to be a traveler, not a tourist.
You can find lots of opinions online about the differences between a tourist and a traveler. But, in the context of landscape photography, I believe the difference is that you look for things other people haven’t found.
Don’t go where your friends have been; definitely don’t go where Google tells you to. When you visit a place with the end goal of photography the landscape there, go where the locals tell you to and go wherever you happen to end up.
Sometimes spontaneity leads to better creativity.
Learn More:
Originally posted on PhotographyTalk.com.

