Common Photography Problems - and How to Fix Them
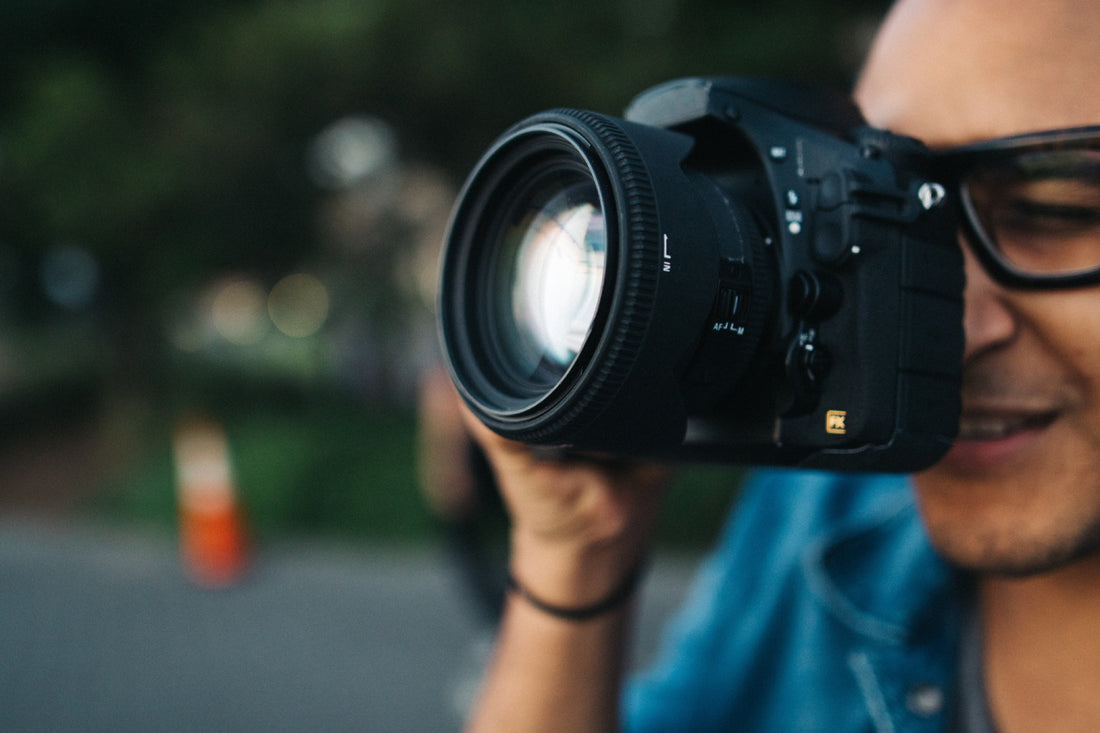
 Photo by Julian Santa Ana on Unsplash
If you're frustrated by photography and aren't sure how to get over the hump, it might be because you're making a silly mistake.
If so, you aren't alone...
Every photographer makes plenty of mistakes, especially when they're just starting out.
There's a lot to learn and understand, and simple mistakes along the way are just part of the growing pains of learning how to be a better photographer.
In this guide, I offer up a few common photography problems and what you can do to solve them.
Problem: Editing Photos Takes Too Long (and is Expensive)
 Photo by Anchiy via iStock
There are two common problems when it comes to editing photos.
One, it can take absolutely forever, and two, some photo editors cost a big chunk of change.
Though programs like Photoshop and Lightroom have an incredible array of tools and features that give you tons of options for editing your photos, learning how to use all those tools can take a good deal of time. What's more, the workflow in some editors can be a bit on the laborious side.
Additionally, paying a monthly fee for a photo editor is a bit of a bummer, especially when there are one-time-only fee options out there.
The solution to these problems is simple: Luminar 3.
Not only is Luminar 3 easy to use with built-in "Looks" to get the editing process started, but it's also loaded for bear with dozens of filters you can apply to correct problems or get creative.
These tools are adjusted using sliders, so it's a simple matter of moving the slider to the left to reduce the effect and moving the slider to the right to increase it.
Another feature that makes Luminar an efficient editor is the pre-made workspaces.
If you're working on a landscape, fire up the Landscape Workspace and make use of the recommended tools to make your landscape look like a million bucks. You can even add other tools to customize the workspace as you see fit.
There's workspaces for black and white photography, portraiture, street photography, and more, too.
While ease of use is certainly an important factor, Luminar's price is important to note as well.
It's just $69, and that's a one-time fee.
When you consider all the different tools and features that Luminar has, from AI-powered filters to dozens of filters to enhance your photos to an intelligent library that helps you organize, sort, and browse your photos, $69 is a great price.
See what Luminar 3 has to offer in the video above by Trey Ratcliff.
Learn More:
Problem: Your Photos Aren't Perfectly Sharp
 Photo by Scott Umstattd on Unsplash
There are a number of reasons why your photos might not be sharp, but most commonly, a lack of sharpness is due to a lack of stability for the camera.
This is especially true if the scene is dark and you're shooting in fully automatic mode - the camera might choose a shutter speed that's too slow for you to hold the camera in your hand.
That means you need to stabilize the camera in some way, even if it's sitting it on a solid surface.
Of course, that's not a long-term solution to this problem...

Instead, invest in a good, solid tripod.
A tripod is a must-have photography accessory if for no other reason than it helps eliminate the camera shake discussed above.
But a tripod is valuable in other ways as well:
- Tripods help slow you down a bit, and that extra time can be used to perfect the composition.
- Many tripods have built-in bubble levels which help you keep horizons straight.
- Some tripods have multi-angle center columns which allows you to compose interesting low-angle shots.
In other words, a good tripod can help you minimize errors and create better photos in a number of different ways.
That being the case, it's important to invest in a good tripod that will last you for years and years.
I've used the SIRUI W-2204 tripod shown above for years, and it has served me well in all sorts of situations, from taking portraits of my family to taking landscape shots at the beach.
It's waterproof, so water, sand, snow, and mud won't harm it, and with easy twist-lock mechanisms on the legs, it's a breeze to set up.
Heck, one of the legs even detaches for use as a monopod, so it's a multi-functional, well-built, and reliable tripod that will help you get sharper, better-composed shots.
Learn More:
Problem: You Can't Get a Beautiful Blurry Background in Portraits

If you look at portraits like the one above and lament that you have problems duplicating the blurry background, what you need to do is learn about depth of field.
In a nutshell, depth of field refers to the area of an image that's in sharp focus. In most portraits, the depth of field is shallow (the subject is sharp but the background is not).
Conversely, in landscape photography, the depth of field is usually quite large with everything from the foreground to background in sharp focus.
The question is, how do you manipulate depth of field?

I wrote a comprehensive guide on this topic, but here's a quick rundown of the factors that influence depth of field:
- Distance to the subject - the closer you are to the subject, the blurrier the background will be.
- Distance from the subject to the background - the further away the background is, the blurrier it will be.
- Focal length of the lens - the longer the lens, the shallower the depth of field (i.e., using a 200mm lens to photograph a subject from 20 feet away will produce a shallower depth of field than using a 24mm lens on the same subject from the same distance).
- Sensor size - the larger the imaging sensor in the camera, the shallower the depth of field will be (i.e., using a 35mm full frame sensor to photograph a subject from 20 feet away will produce a shallower depth of field than using a smartphone on the same subject from the same distance).
- Aperture size - the larger the aperture opening, the shallower the depth of field.
In other words, if you want a blurry background for portraits, get close to the subject, maximize the distance between the subject and the background, and open up the aperture as large as it will go.
These methods of manipulating depth of field are much easier (and less expensive) than buying a new camera with a larger sensor or buying a new lens with a larger maximum aperture.
However, I will say that a better lens is a sound investment (just like a good tripod!).
I always recommend that beginner photographers pick up a 50mm f/1.8 lens (like the one shown above) because they have a much larger aperture (f/1.8) than typical kit lenses (which usually range from f/3.5-5.6) and you can pick one up quite inexpensively - Canon's version of this lens is about $125.00 brand new.
Of course, if you want a better lens with a larger aperture, you can always buy a pre-owned lens.
Though buying used gear from a place like Craigslist might (and should) induce a bit of panic, if you buy from a reputable photography company like Lensfinder, you can rest assured that you'll be able to find what you want and for a good price as well.
Lensfinder was built by photographers, for photographers, and is a nice little community where gearheads can go to buy and sell their stuff.
It's all self-contained, too - you can search for what you want, make an offer, ask the seller questions, submit payment, and provide feedback all without leaving the site.
I've used Lensfinder a few times now and have been thoroughly impressed with how easy it is to buy and sell gear.
Learn More:
Problem: Your Landscape Photos Lack Punch

If your landscapes look a little blah - perhaps there's not much contrast in the sky or there's a ton of glare off of the surface of water - there's an easy solution...
A polarizing filter.
Polarizing filters are a little like magic - just screw one onto your lens and your photos will have less glare, less atmospheric haze, and the sky will be a deeper blue with brighter white clouds.
Nice, right?!

Though some polarizers are extremely expensive, you don't have to spend a mountain of money to get a high-quality filter that will help you take improved photos.
I've been testing Puro circular polarizer for several months, and it certainly hasn't let me down.
Kenko makes the best-selling filters in Japan, and their popularity makes sense - they are made with precision polished Asahi Japanese Optical Glass so you're sure to get clean, crisp, and clear results.

What's more, the filter has a slim profile alloy ring so it can be used with wide-angle lenses, yet won't cause vignetting.
No matter if you have a Nikon, Canon, Zeiss, Sigma, Tamron, or other major brand lens, Kenko has a circular polarizer for you!
Learn More:
- 4 Ways You Can Improve Your Photos This Weekend
- Step Up Your Landscape Photography Game With This Must-Have Filter
Problem: You Have Neck and Shoulder Pain
 Photo by Ivana Cajina on Unsplash
I don't know about you, but when I go out to take photos, I go out for hours on end. After all, I want to get my money's worth!
The problem with shooting for long periods of time is that you can get quite fatigued from having your camera slung over your shoulder.
That shouldn't be a surprise, either, because the camera straps that come with cameras are, in a word, terrible.
The flimsy material has no padding at all, so after a couple of hours of it cutting into your neck and shoulder, it's hard not to want to give up.
 Photo by Brandon Burk
The solution to this problem, is, of course, to get a better camera strap.
I know that a camera strap might not be the sexiest of photography accessories you can buy, but like a good tripod and a better lens, a quality camera strap will do you a ton of good.
I have a Holdfast MoneyMaker Solo, and it has been worth every penny I spent.
It's got a nice, big, padded shoulder pad that helps distribute the weight of my camera over a larger area of my shoulder, which means I don't get sore, even after hours of shooting.
 Photo by Brandon Burk
This MoneyMaker Solo has a stabilizer strap that keeps the shoulder pad in place, that way you don't have to be constantly fighting it to keep it in place.
Likewise, Holdfast has devised a belt anchor that secures your camera in place, that way it stays put no matter if you're walking or running, standing or kneeling. See what I mean in the video above.
Of course, you can't help but notice how beautiful this thing is, either.
Not that having a pretty camera strap is required to take great photos, but hey, you might as well look good, be comfortable, and have an ultra-functional camera strap all at the same time, right?!
Learn More:
- Awesome Photography Gear That Can Totally Change Your Workflow
- The Worst Mistake You Can Make With a New Camera
Originally posted on PhotographyTalk.com


