3 Tips on How to Use a Circular Polarizer

For those of you that have been paying attention, you know I just wrote this seriously in-depth article about how to use a circular polarizer.
It goes into the science behind circular polarizers and is pretty technical.
This article, on the other hand, is simply a short list of practical tips for using a polarizer and skips all the technical stuff.
Here are my top 3 tips on how to use a circular polarizer.
Get the Angle Right

photo by nexusimage via iStock
If you’re trying to use your circular polarizer to shoot sunsets or sunrises, it’s not going to work.
That’s because circular polarizers work best when the sun is at a 90-degree angle.

photo by laflor via iStock
A good way to find that sweet spot while using a circular polarizer is to turn your fingers into an L shape.
Point your forefinger directly at the sun, then pivot your wrist. Wherever your thumb is pointing is the best direction to aim your camera.
Avoid Using Polarizers for Panoramas

photo by HaizhanZheng via iStock
This is another one of those problems with polarizers that people rarely think about.
It’s really difficult to take a panorama with a circular polarizer because you are going to be pointing your camera at varying angles to the sun throughout the one photo.
As discussed above, this presents a problem because you’ll have some shots in the pano in which the polarizer is working like a charm, and others in which it isn’t.
So, your final product will end up looking really unnatural without a ton of post-processing.
Alternatively, you can adjust the polarization of the filter as you move the camera for each image in the panorama - increasing its strength for each frame that’s closer to the sun - but this can be extremely difficult to pull off.
Learn More:
Invest in a Quality Circular Polarizer

I ended up in a weird part of the internet yesterday, and stumbled across a hilarious video on how to DIY a circular polarizer.
While a DIY circular polarizer would be a fun project to do with your kiddos, it’s not exactly realistic to DIY your own polarizer out of a cut-up pair of 3D glasses.
I mean, it’s not going to make a very durable filter, right? Nonetheless, ellis3d makes it look simple:
Likewise, I see photographers buying $10 circular polarizers off Amazon.
These circular polarizers are often flimsy, poorly made, and can create a color cast in your images. So, not a good investment!
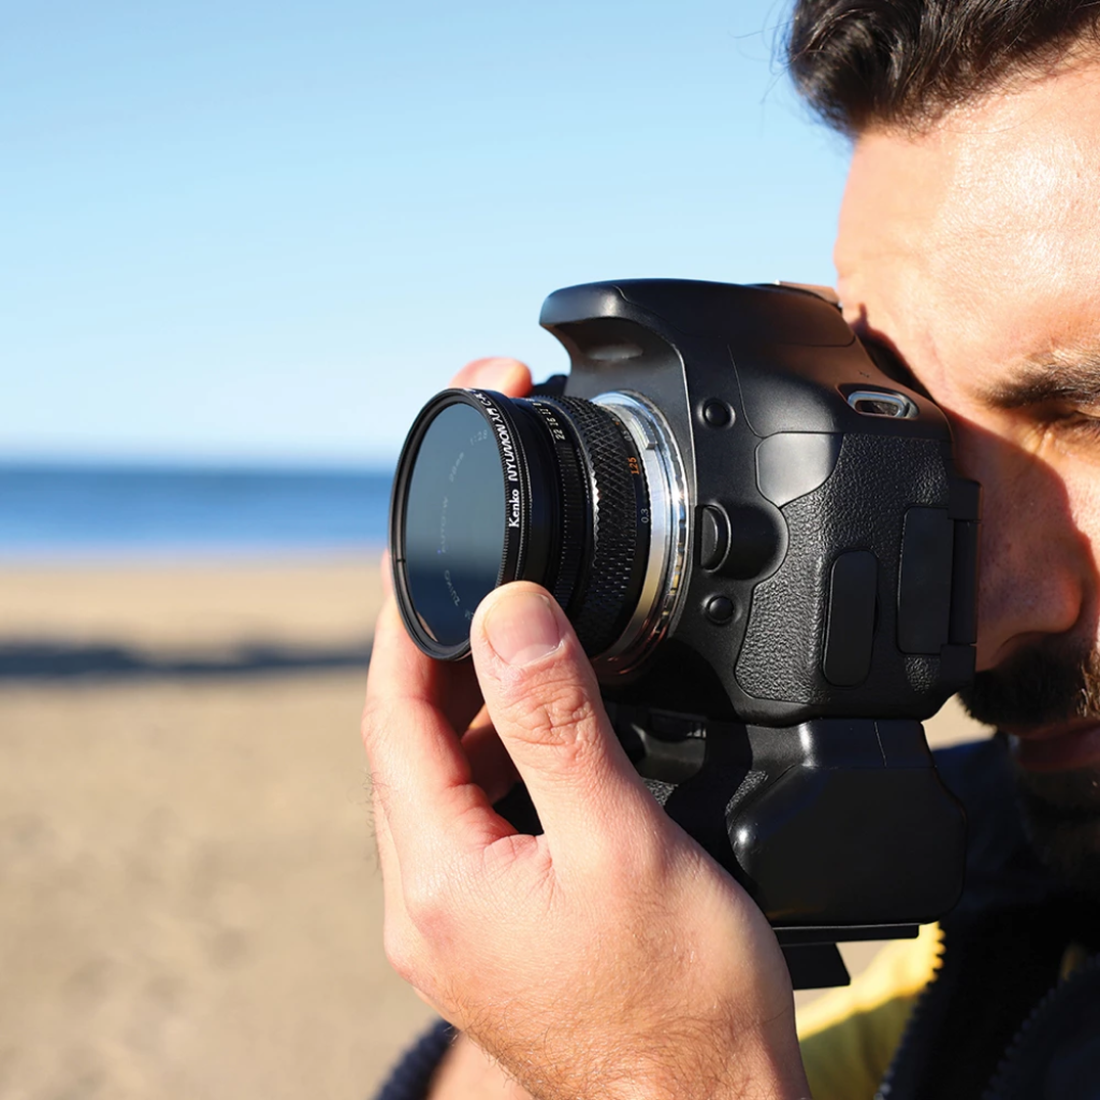
I use Kenko for all of my polarizer needs, and particularly enjoy their slim circular polarizing filter.
For $43, it’s the cheapest version of a circular polarizer that will last you forever.

Kenko is the number one selling polarizer in Japan, and for good reason - they’ve managed to create a polarizer that performs well, is durable, and doesn’t cost you an arm and a leg.
It’s anti-reflective ring works better than any other polarizer filter I’ve tried and I don’t have to worry about flare in my photos.
On top of that, it comes with an anti-stain coating so it’s easy to clean after every use. Not bad, right?!
If you want to improve your landscape photos (who doesn’t?), using a polarizer is one of the best ways to do so. And as you’ve learned here, it’s one of the simplest things you can do as well!
Learn More:
Originally posted on PhotographyTalk.com