4 Easy Landscape Photography Tips You Need to Know

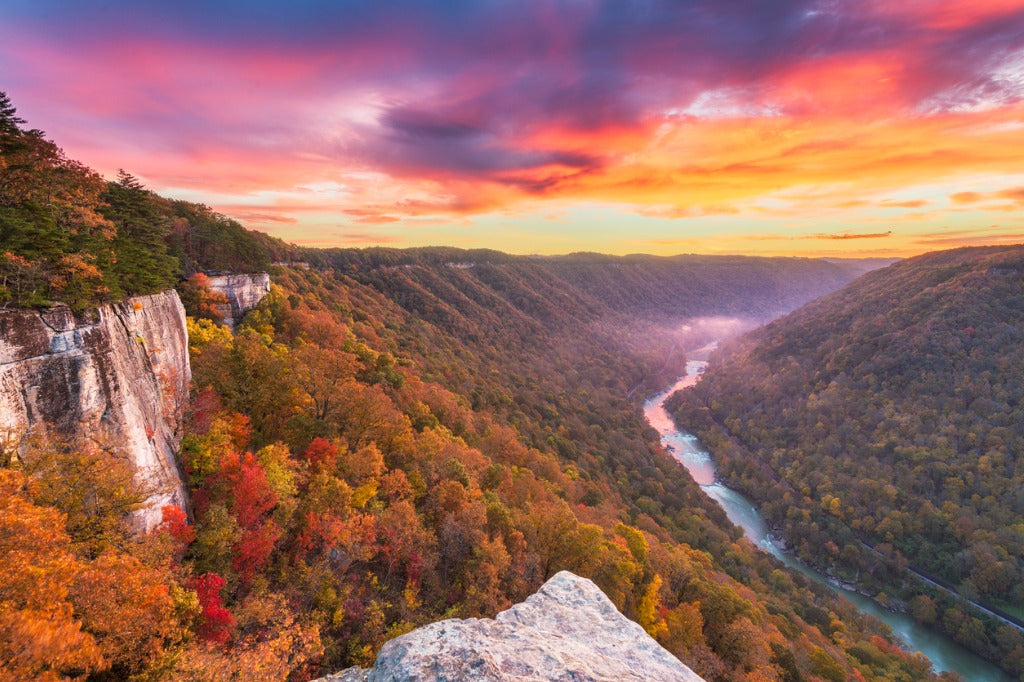
photo by Sean Pavone via iStock
When I started in photography, I thought landscapes would be the easiest subject.
After all, I just needed to pull over on the side of the road, point my camera at something pretty, and press the shutter button to get a great shot. At least that’s what I thought…
Obviously, I was very wrong - good landscape photos require every bit as much hard work and planning than any other kind of photo.
In this tutorial, I want to share four easy beginner landscape photography tips that you might not have heard of.
Combined with more traditional landscape photography tips, these pointers will help you get the best-quality images with the most impact.
Table of Contents
- Use a Polarizer - But Not All the Time
- You Don’t Need to Shoot at f/22
- Add Drama With Artificial Lighting
- Invite Viewers Into the Scene
Use a Polarizer - But Not All the Time

One of the most common pieces of advice for landscape photographers is to use a polarizing filter.
These filters, like the Kenko Smart Slim Circular Polarizer shown above, offer many benefits to landscape images, including:
- Reduced glare off non-metallic surfaces, like water or wet plants and rocks
- Reduced atmospheric haze, so distant elements in the landscape appear more defined
- Boosted contrast in the sky, with a bluer atmosphere and whiter clouds
In fact, ask most landscape photographers and they’ll tell you that a polarizer is the most important filter to have in your bag.
However, what some folks neglect to mention is that polarizers are only useful in certain situations.

photo by ferrantraite via iStock
For example, a polarizer has no effect when you’re shooting toward the sun, so they’re useless if you’re photographing the sunrise or sunset and the sun is in the frame. They have their greatest effect when shooting at a 90-degree angle from the sun.
As another example, polarizers aren’t well-suited for low-light landscape photography. This is because they slightly reduce the amount of light entering the lens.
So, if you’re in a thick forest or shooting at dusk, ditch the polarizer so your camera can collect the light it needs to get a good exposure.
Knowing when you should and shouldn’t use a polarizer will certainly help you get improved photos.
Editor's Tip: Get Kenko’s latest updates and access to promos for discounted gear. CLICK HERE TO SIGN UP.
You Don’t Need to Shoot at f/22

photo by tomch via iStock
When you first learn how aperture works and how it impacts depth of field, it’s common to want to slam the aperture down to f/22. After all, the smaller the aperture opening, the bigger the depth of field.
However, shooting at f/22 isn’t going to do your photos any favors…
No lens - not even a high-end professional lens - is its sharpest at f/22. That means that by shooting at f/22, you’re making the image softer. Having a huge depth of field doesn’t matter if the image isn’t sharp!
Instead, strive for a larger aperture opening. Even f/16 will give you noticeably sharper results.

photo by raung via iStock
If possible, open the aperture up even further to f/8 or f/11, as these apertures are often the sharpest for most lenses.
What about depth of field, you ask?
Even at f/8, you can still get everything in the shot from foreground to background nice and sharp, as shown in the image above. Just ensure the nearest element in the photo is six or eight feet away, and you should be just fine.
So, not only will you have a solid depth of field, but you’ll also have a sharper photo. It’s a win-win!
Learn More:
Add Drama With Artificial Lighting

photo by shaunl via iStock
I know what you’re thinking...artificial lighting for landscape photography??
But trust me when I say that adding a splash of light in low-light landscape photos can have a significant, positive impact on the overall appeal of the image.
Take the image above as a perfect example of this concept.
This scene is beautiful with the starry sky above the rocky shore. But by adding illumination from a small light, the details of the shore and the water come through. Those details give this shot an added layer of interest that pairs well with the blanket of stars above.

photo by eal444 via iStock
In this example, adding artificial light to the scene reveals all the cracks in the ice below the man’s feet.
Not only is this an interesting detail, but it also gives this photo a much greater sense of drama - is the ice in danger of cracking? Will the man get off the ice safely?

These days, adding artificial light to a landscape scene is easier than ever before, too.
I use the tiny LitraPro shown above. It’s supremely portable, rechargeable, and durable, so it is the perfect companion for landscape photography.
Litra managed to stuff 60 LEDs into this light, which is no small feat considering it weighs just 6 ounces and measures 2.75 x 2 x 1.2 inches.
With 1200 lumens of light, you can really illuminate the foreground of your landscapes or add interesting beams of soft light - whatever your pleasure!

The LitraPro is bi-color and has an adjustable color temperature of 3,000-6,000K, so again, you can customize the light output to your needs.
Additionally, you get crisp, clean, even, and flicker-free light to add to the gorgeous landscape around you.
Top that all off with MIL-SPEC 810 durability, waterproofness up to 90 feet, Bluetooth control, and a 10-hour battery life on low output, and you have the makings of the perfect light for adding interest to your landscape photos!
Invite Viewers Into the Scene

photo by Oleh_Slobodeniuk via iStock
A common piece of advice for landscape photographers is to have a strong subject in your photo to help draw viewers into the shot.
But it isn’t just a strong subject that helps this happen - you need foreground interest to do that as well.
Even though the foreground is likely not the highlight of the shot, you can still use it as a compositional tool that helps the entire image be more successful.
Having an interesting rock, some leaves floating in a pool of water, or colorful plants (as shown above) in the foreground of your landscape photos serves as a stepping stone to the midground and background of the image.

photo by ErmakovaElena via iStock
In other words, think of the foreground of your shots like the introduction to a story - you need a hook, something of interest there to bring people in and direct them toward the body and the conclusion of your visual story, which are in the midground and background, respectively.
It also helps if you lower the eye level of the shot. Get closer to the ground, and the foreground will take on more prominence, and just might help you lure viewers into the photo.
With these simple landscape photography tips, you’ve got some new tools to use to improve the quality of your photos. Now all that’s left is to grab your camera and go practice!
Originally posted on PhotographyTalk.com

